Welcome to our ultimate guide for the Wireless Scene Switch, compatible with the Smart Life App! In this comprehensive article and accompanying video, we’ll guide you through the seamless process of pairing and configuring the scene switch. Explore creative use cases for smart and personalized device control. Dive into the realm of intelligent automation, making your smart home even smarter – step by step, for a smooth setup experience.
1.
Place the Wireless Scene Switch near the Zigbee Gateway. Press and hold any button on the Scene Switch until the LED blinks rapidly.
2.
Open the Smart Life App and go to the Zigbee Gateway, select „Add Sub-device“ there. The Scene Switch should be recognized. Add it to your device list.
Programming the Scene Switch
3.
Open the Smart Life App and select the Scene Switch from your device list.
4.
Click on „Automation“ or „Create Scene,“ depending on your app version.
5.
Choose „When a device is turned on/off.“
6.
Define the action to be triggered when the Scene Switch is pressed. This could be turning on lights, starting a scene, or executing a group action.
Application Examples for the Scene Switch
7.
Press the Scene Switch once to turn on all lights in the living room.
8.
Double-press the switch to dim the lights to 50%.
9.
With a long press, turn off all lights.
10.
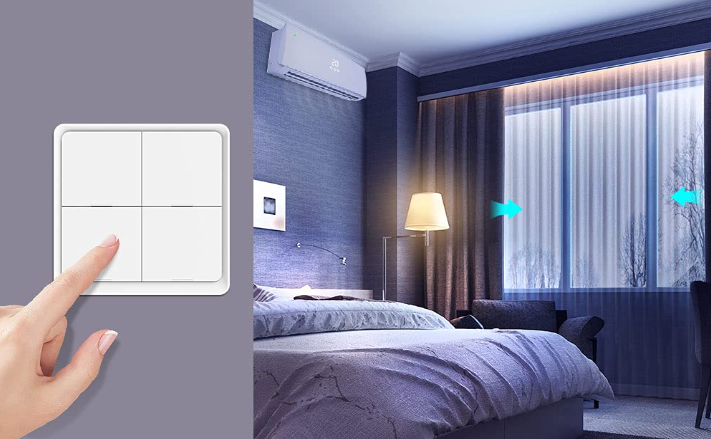
In combination with a smart blinds switch, press a button to raise/lower all blinds.